Which method actually makes sense for you?
Three ways to add subtitles to a video. The right one depends on your platform, how much time you have, and whether you care what the captions look like.
I’ve used all of them across different projects. Here’s the honest breakdown:
| Method | Best for | Time required |
|---|---|---|
| AI auto-captioning (AutoCaption) | Any platform, fastest results | 2-5 minutes |
| Platform auto-captions (YouTube) | YouTube only, no styling control | 5-15 minutes (review) |
| Manual SRT upload | When you have an existing transcript | 30-60 minutes |
| NLE software (Premiere, DaVinci) | Full production control | 1-3 hours |
For 90% of creators, AI is the right answer. The other methods exist for edge cases.
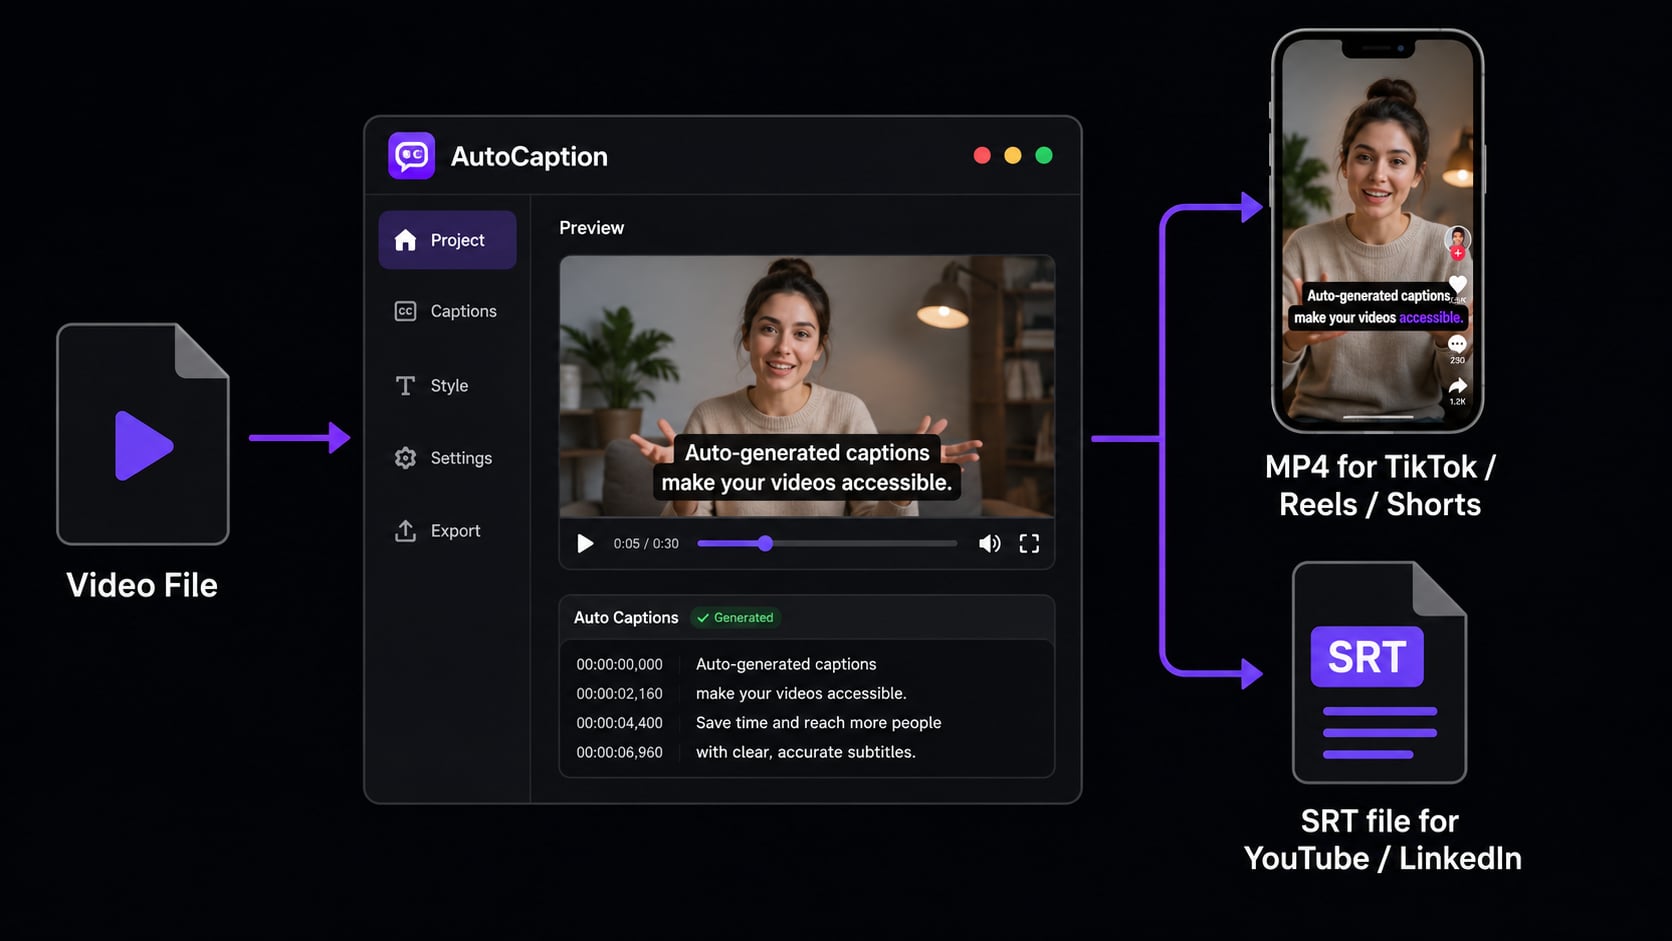
Add subtitles automatically with AI (fastest)
- 1 Upload your video to AutoCaption.
- 2 The AI transcribes your audio and generates time-synced caption text automatically.
- 3 Review the captions in the editor. Fix any errors, especially names and brand terms.
- 4 Style your captions: choose font, size, color, position, and animation.
- 5 Export as a burned-in MP4 (for social media) or download the SRT file (for YouTube/LinkedIn).
First time I ran this, I expected it to be rough. It wasn’t. Accuracy on clear audio is genuinely 95%+. The only things I ever fix are proper nouns and names the AI hasn’t encountered before.
How to add subtitles on YouTube
YouTube’s auto-captions are free and decent. But there’s a catch nobody mentions: Google doesn’t index auto-generated captions until a human reviews them. Your own SRT file gets indexed immediately. That’s a real SEO gap if you’re relying on auto.
- 1 Upload your video in YouTube Studio.
- 2 Go to Subtitles in the left menu and click Add Language.
- 3 Upload your SRT file, or use YouTube's auto-captions and then edit them.
- 4 Click Publish. Captions are now live and indexed by Google.
Pro tip
Always upload a clean SRT file rather than relying on YouTube’s auto-captions. Your own SRT file is indexed by Google immediately. Auto-captions aren’t indexed until a human reviews them. That’s a direct SEO advantage you’re leaving on the table.
How to add subtitles on TikTok
TikTok’s native auto-captions are plain white text with inconsistent accuracy and zero styling. For anything you actually care about, burn the captions in before you upload.
- 1 Generate and style your captions in AutoCaption.
- 2 Export the video as an MP4 with captions burned in.
- 3 Upload to TikTok as you normally would. The captions are already part of the video.
- 4 Optional: disable TikTok's auto-captions in settings to avoid duplicate text.
How to add subtitles on Instagram Reels
Instagram doesn’t support SRT uploads at all. Burned-in open captions are the only method that actually works.
- 1 Export your Reel from AutoCaption with captions burned in.
- 2 Upload to Instagram as a Reel.
- 3 The captions are visible immediately in the feed. No viewer action required.
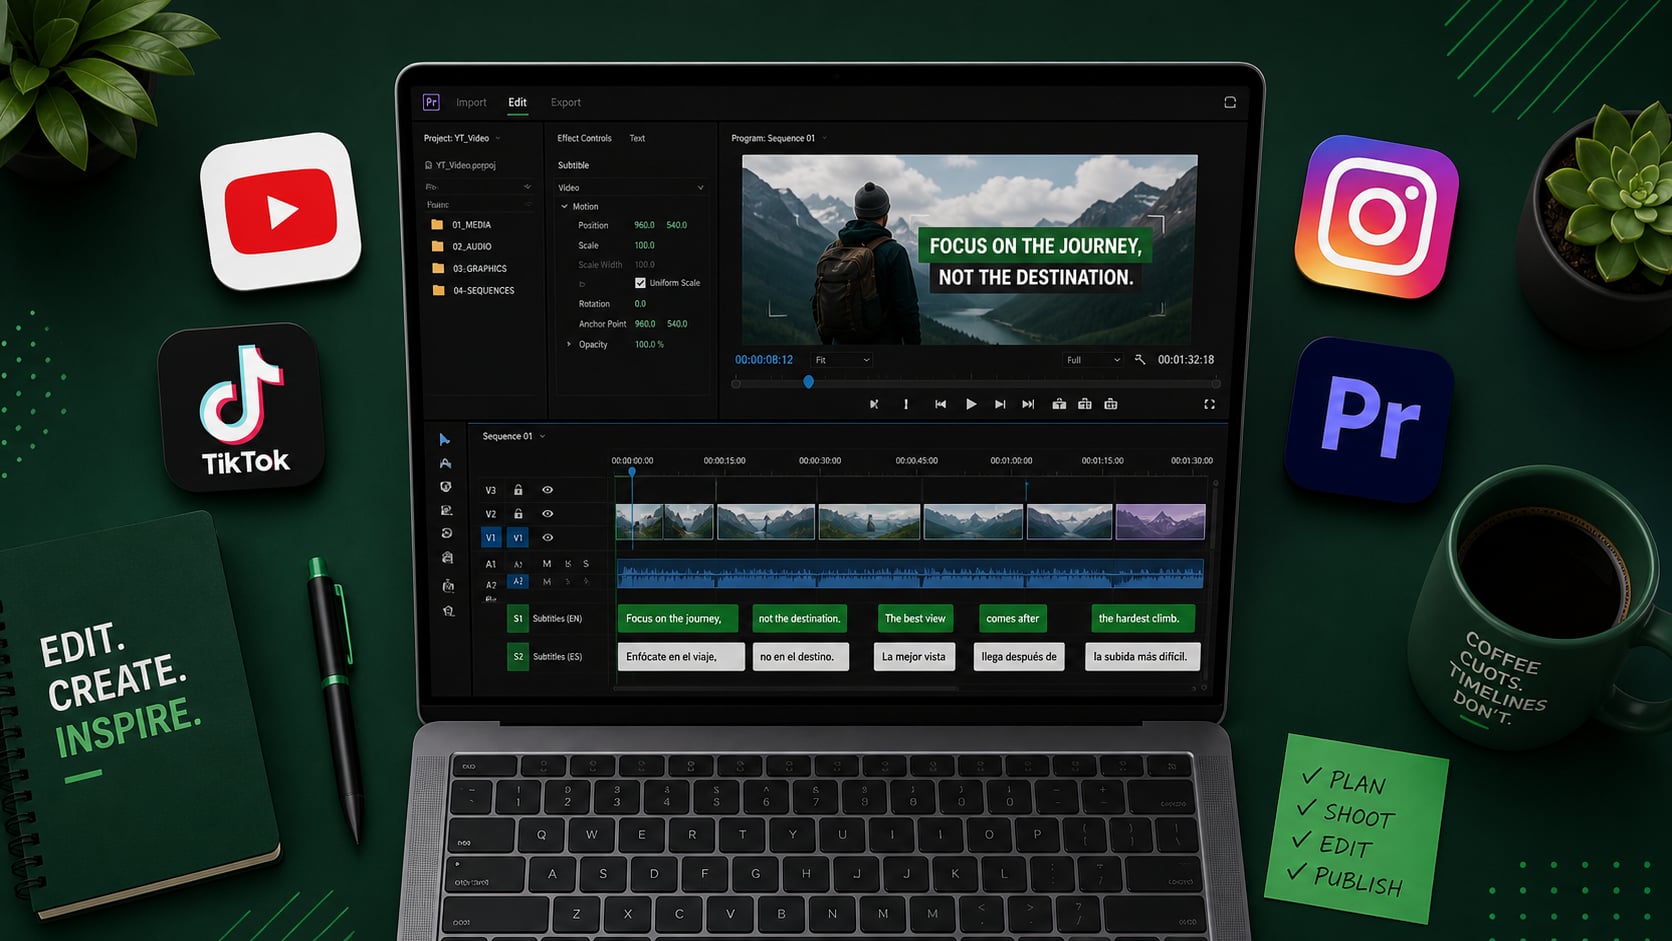
How to add subtitles in Premiere Pro
If you’re in a full production workflow, Premiere’s native captioning tools are solid, just slow. Use this when you need granular control or you’re delivering to broadcast specs.
- 1 Open your sequence in Premiere Pro.
- 2 Go to Text > Captions > Create Captions from Sequence Transcript.
- 3 Premiere will auto-transcribe your audio (requires Speech to Text).
- 4 Edit the caption text in the Text panel.
- 5 Style captions in the Essential Graphics panel.
- 6 Export with captions embedded or as a separate SRT file using File > Export > Captions.
Before you hit publish, check these
One bad caption error in the first 10 seconds tanks credibility fast. Run through this before posting:
- Proper nouns and brand names are spelled correctly
- Speaker changes are clearly marked
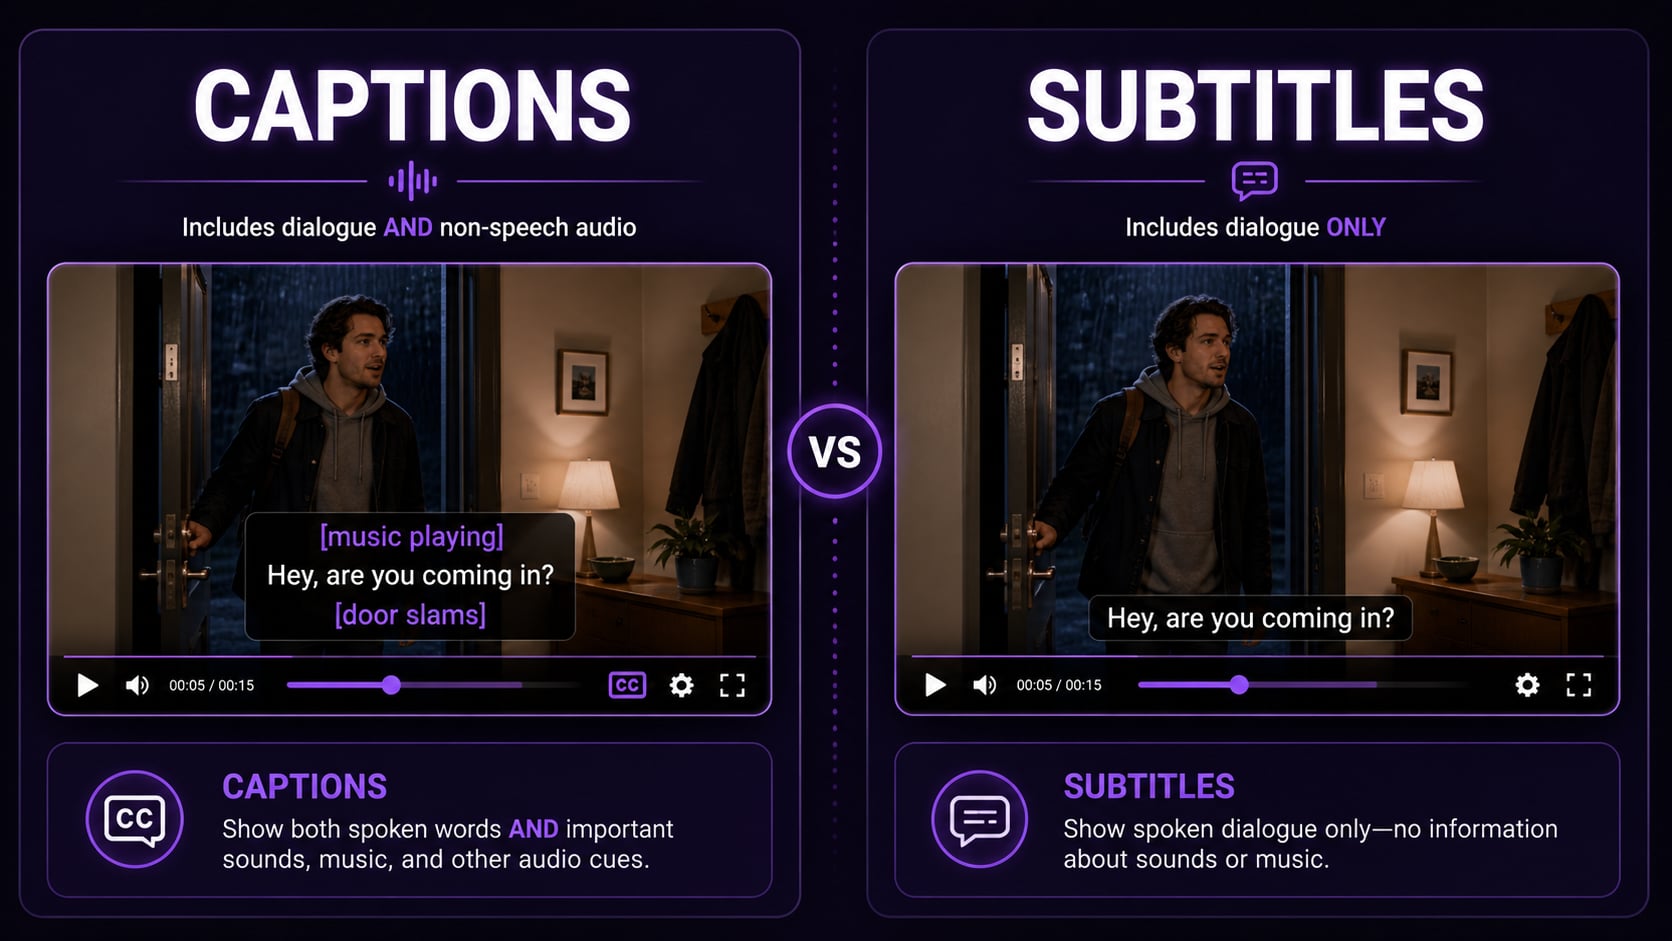
- Sound effects and music cues are included (for accessibility)
- Captions are in sync (no early or late text)
- Captions do not overlap with logos or lower thirds
- Line length is readable: 2 lines max, 42 characters per line